A few Stalker v2.1 glitches that can easily be solved
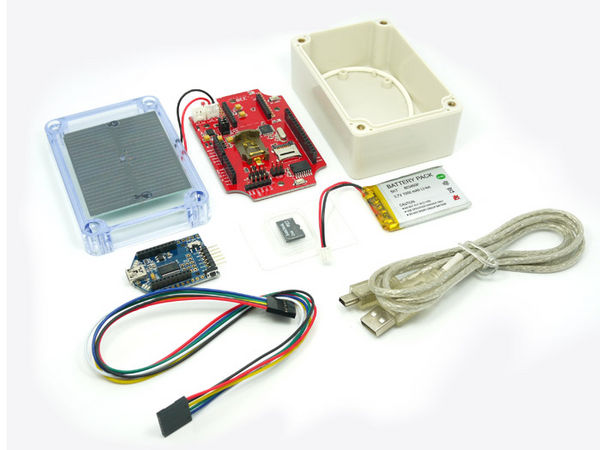
I finally received my order at SeeedStudio last Wednesday. It came nicely packaged and until yesterday, I had not a chance to test the Stalker. After a few hours playing with it, I must say that this is a really cool Arduino board from which you can do plenty of stuff.
I went through the tutorial for the Stalker v2.1 on the Wiki and experienced a few glitches for which I found solutions that might help some of you :-)
The problems I had where mostly related to:
- compatibility with Arduino 1.0
- interrupts
Fixes for the DS3231 library
The first three examples from the DS3231 library did not work as expected with Arduino 1.0. The reason being that Arduino 1.0 made a non-backward compatible change to the Wire library.
This can easily be fixed by:
- replacing the import of
WProgram.hwith an import ofArduino.h, - replacing all
Wire.send()calls withWire.write()alternatives, - replacing all
Wire.receive()calls withWire.read()instead, - casting some few calls to
Wire.write()(on line 160 replaceWire.send(DS3231_SEC_REG)withWire.write((uint8_t) DS3231_SEC_REG), on line 176 replaceWire.send(0x00)withWire.write((uint8_t) 0x00)).
You can otherwise download my modified DS3231.cpp file.
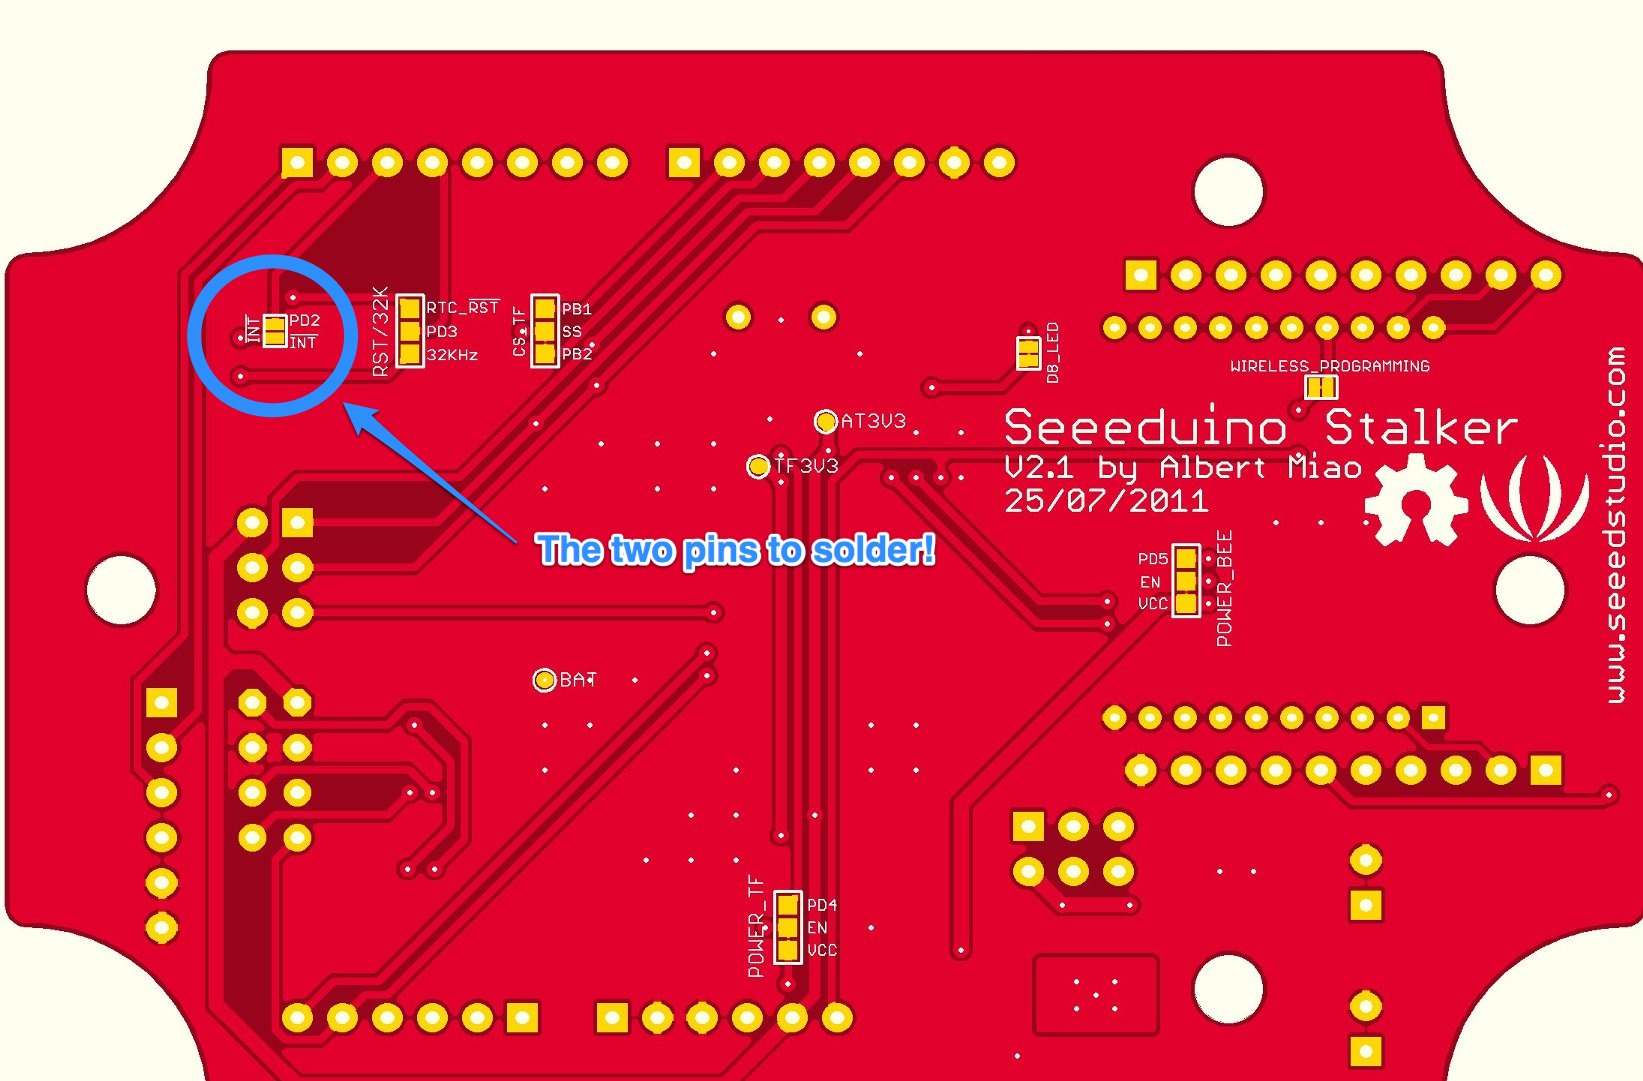
Proper soldering of the RTC Interrupt Jumper
If you want your RTC to wake up your Arduino uC, you need to solder a jumper. By soldering this jumper, you’ll have the DS3221 connected to INT0 on the Arduino.
The documentation was wrong in the Wiki! I made a modification in the page, so that the instructions are now valid. You had to do the instructions written in the Wiki page for the Stalker v2.1 page describing the various jumpers.
So instead of soldering PD3 to INT, solder PD2 to INT.
This make sense when you have a look at the bottom of the board.
I lost quite some time figuring out what was wrong after I had soldered a wire between PD3 and INT (soldering SMD pads is no fun!).
Conclusion
You can now run the DS3231 Interrupts example and keep going on with the Data Logger Examples.
I now have my room running a Stalker and logging temperature every minute, sleeping between measures. I will finally know how cold the nights can be when my VAC is off, when some doors are closed, or if improvements to my thermal isolation may save energy, hence money :-)
I will most likely start to broadcast temperature measurements over XBee and start logging this stuff. One of the Stalker will also go outside and make use of the Solar Panels, as I’m mostly interested in correlation between outside temperature and temperature in the house.